Appearance
Lead Gen
Last updated: 2026–08-19
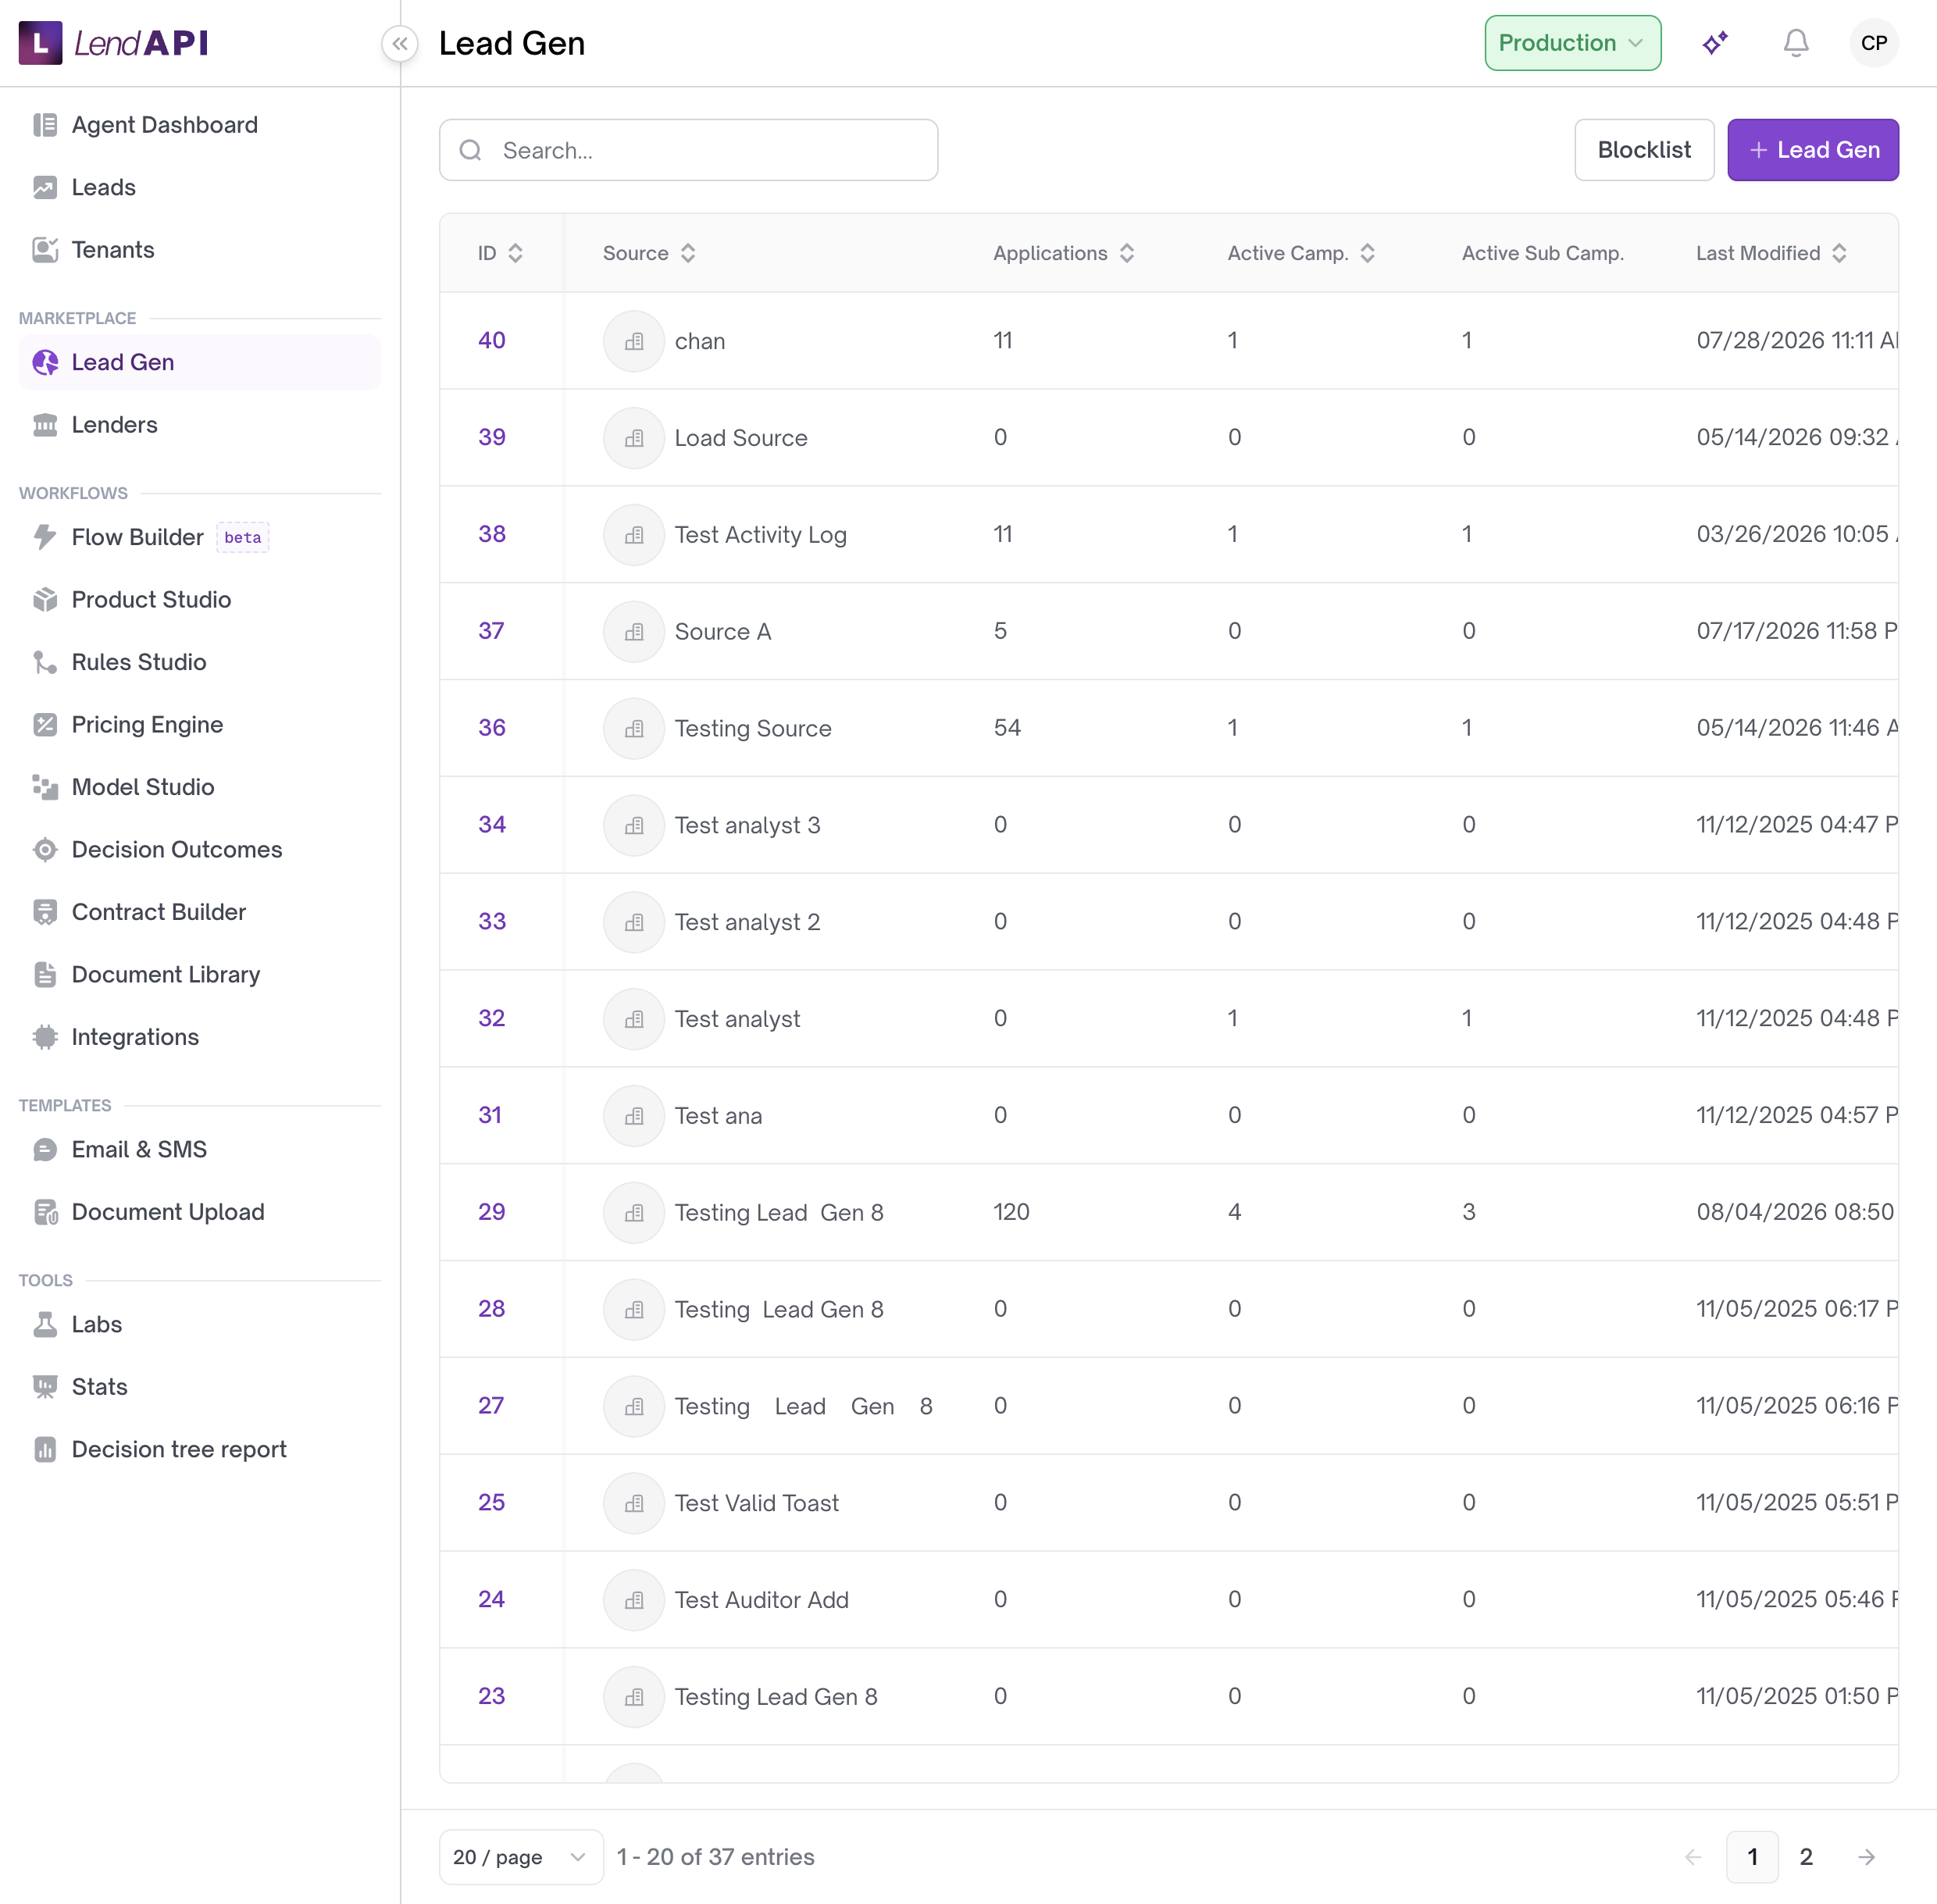
Lead Gen (under Marketplace) is where you manage the sources that send applications into LendAPI, and the campaigns and sub-campaigns that organize traffic within each source. Use it to control which underwriting workflow, loan product, and lender-offer table an incoming application gets routed to, based on where it came from.
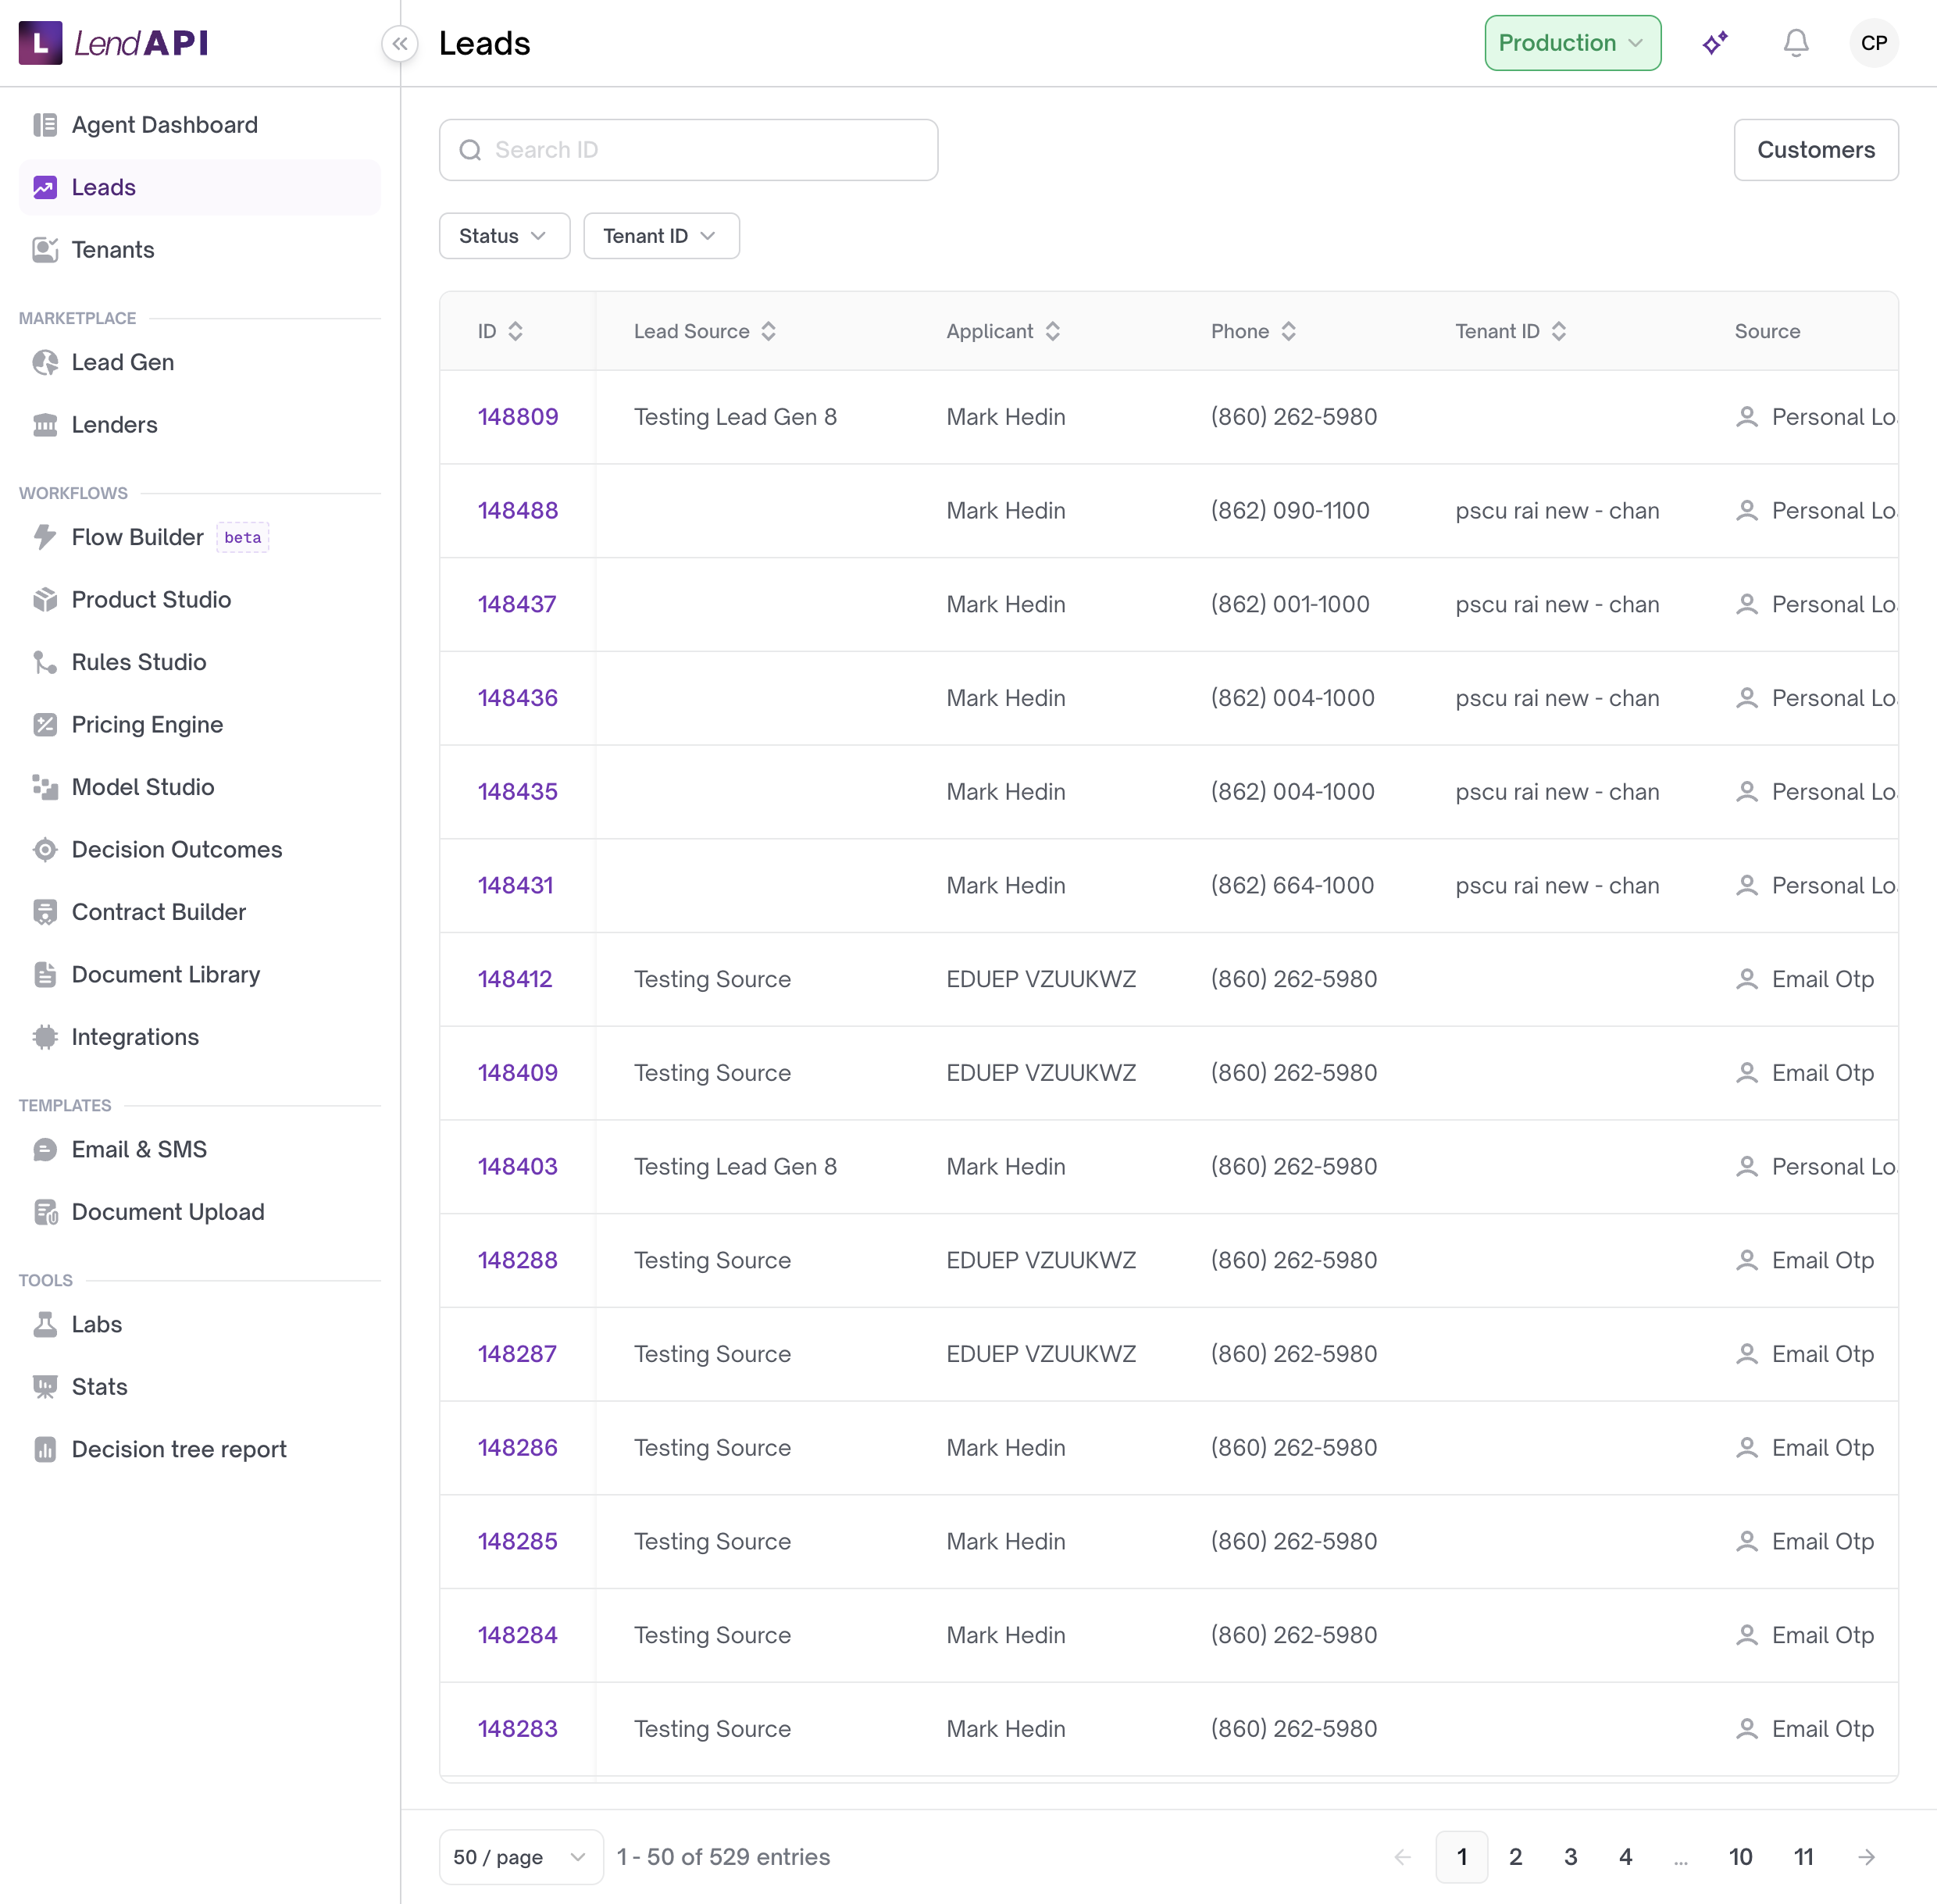
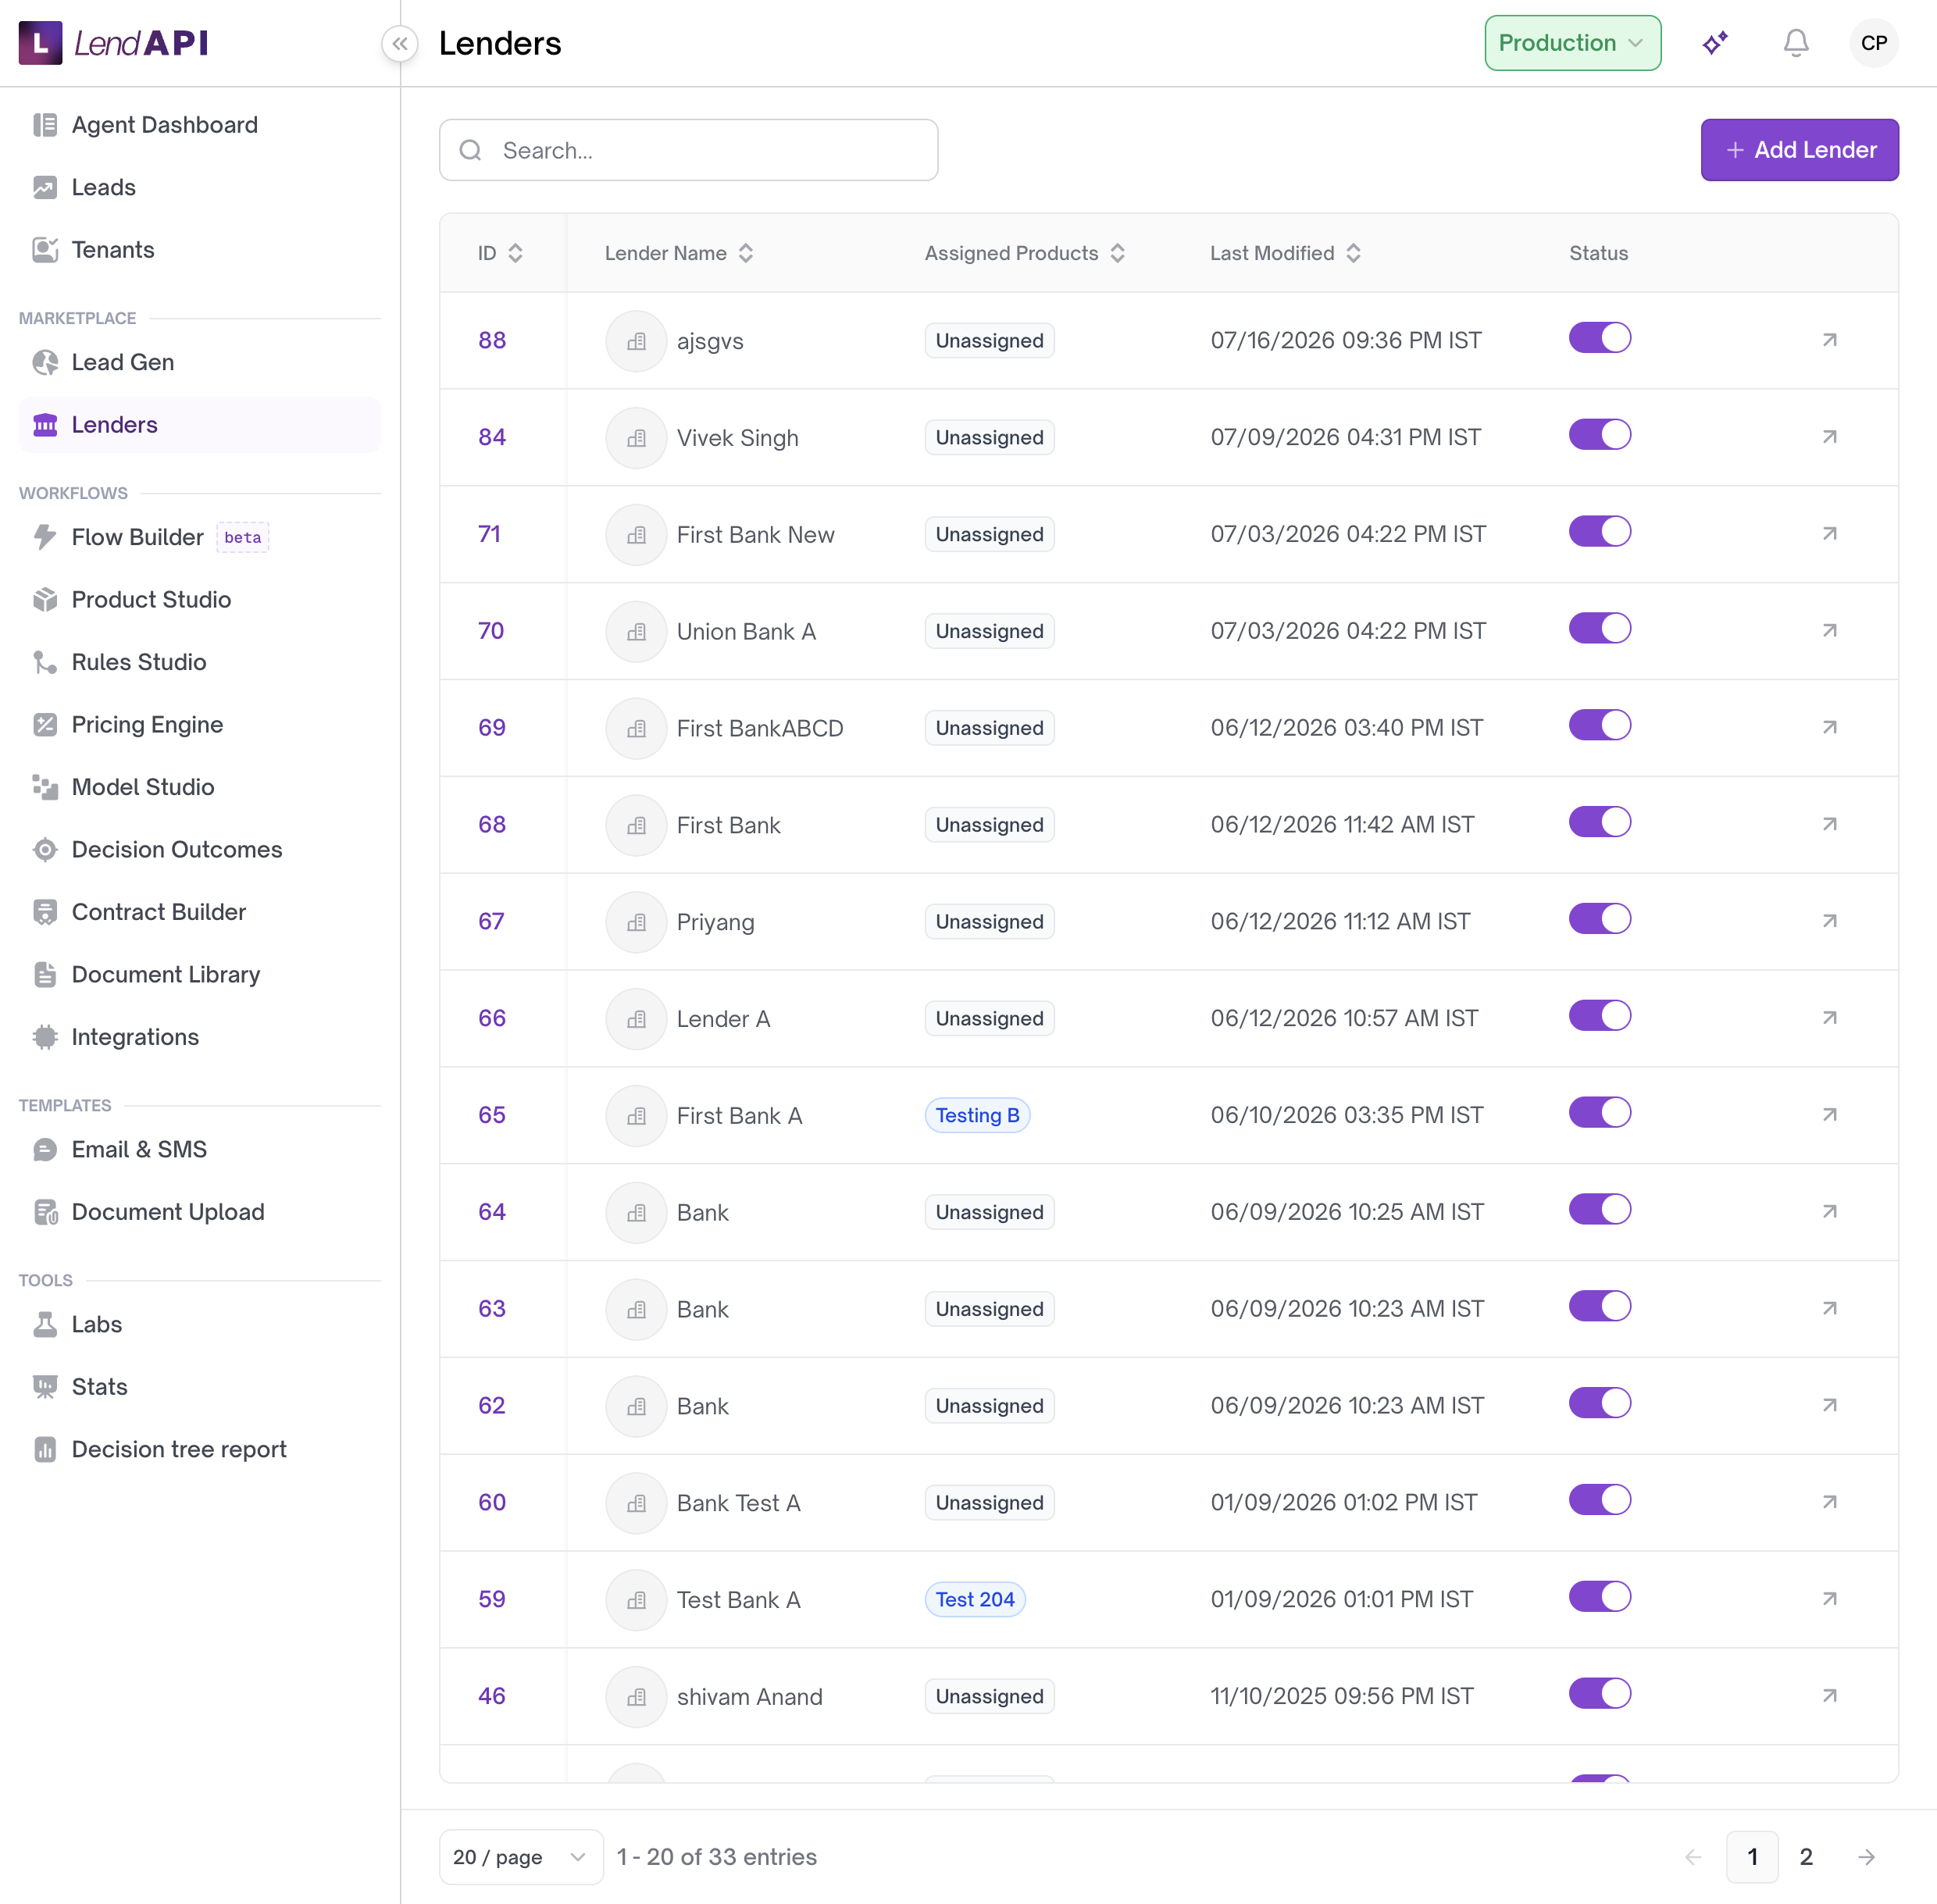
Leads is a separate top-level queue for purchased or inbound leads — a table similar to Agent Dashboard, with its own set of statuses. Lenders is the other Marketplace item: lender records, the products assigned to each lender, and an active toggle per lender.
How Lead Gen is organized
Lead Gen has three levels, in order:
- Lead Source — the top-level entity, typically a partner, broker, or channel that sends you leads (for example, a broker network or an affiliate site).
- Campaign — a grouping within a lead source. A source can have multiple campaigns running at once.
- Sub Campaign — a further breakdown within a campaign, for cases where you need to split traffic more finely (for example, by product term or vehicle type).
Each level shows an applications count, a status, and how many active campaigns or sub-campaigns sit under it. The Lead Sources table shows the source name, total applications received, number of active sub-campaigns, number of active campaigns, and when the record was last modified.
What you configure at each level
At the lead source, campaign, and sub-campaign level, you can:
- Assign a workflow, product, and offer table. This determines which underwriting workflow, which loan product, and which lender-offer routing table process applications that come in through that source, campaign, or sub-campaign. You can set this assignment independently at each level, so a sub-campaign can route to a different product than its parent campaign.
- Turn the source, campaign, or sub-campaign on or off. Toggling status pauses or resumes it. The activity log records these as distinct events (enabled, disabled, paused, resumed) so you can see when and how often a channel was turned off.
- Configure a schedule and application limit. You set active hours and days (Monday through Sunday), each with a start time and end time, plus a cap on the number of applications allowed in a period. By default, weekdays are active from 00:00 to 23:59 and weekends are inactive. If you set a start time on or after the end time for a day you’ve marked active, the system flags that day and blocks the save until you fix it.
- Add notes. Notes attach to the lead source, campaign, or sub-campaign record so your team can leave context (for example, why a source was paused).
- View activity history. Each level has an activity tab showing lifecycle events — creation, status changes, workflow/product assignment changes, and pause/resume events.
- View integration details. Each level exposes an API key and an ID (Source ID, Campaign ID, and, at the sub-campaign level, Sub Campaign ID). You give these to whoever is sending you leads so applications get tagged to the correct source, campaign, or sub-campaign. The API key can be shown, hidden, or copied from the detail view.
If you don’t have permission to view lead sources, campaigns, or campaign/sub-campaign detail, the system shows an “Unauthorized request” message and returns you to the applications list.
Lead blocking
Lead Gen also includes a lead blocklist tool. You pick a variable (a field from your rules engine, such as an identifier used in underwriting) and upload a file containing the values you want blocked. You can add one block per available variable; once every variable is in use, you can’t add another block. You can’t delete the last remaining block unless it represents a file you already saved — add a replacement before removing the last one. If you upload a file that fails validation, the system rejects it with an error message instead of saving it. You can download a previously uploaded blocklist file from its block.
Worked example
A tenant onboards a new broker, Apex Auto Brokers, as a lead source and wants its used-vehicle leads to go through a specific refinance product.
- In Lead Gen, the user adds a new lead source named “Apex Auto Brokers.” The system creates the source and confirms with a success message, generating a source ID and API key.
- The user opens the new source and adds a campaign named “Q3 Auto Refi Campaign” with campaign ID
APEX-Q3-2026. - Inside that campaign, the user adds a sub-campaign named “Used Vehicle 36-Month Refi” with sub-campaign ID
APEX-USED-36. - On the sub-campaign, the user assigns the “Auto Refi Decisioning” workflow, the “36-Month Used Auto Refi” product, and the “Auto Lender Waterfall” offer table. Applications submitted under this sub-campaign now route through that workflow, product, and offer table.
- The user opens the configuration panel and sets Monday–Friday active from 8:00 to 18:00, leaves Saturday and Sunday inactive (the default), and sets an application limit for the sub-campaign.
- The user hands the sub-campaign’s API key and Sub Campaign ID to Apex Auto Brokers’ integration team so their system tags incoming leads correctly.
Use case
A credit union buys leads from a third-party broker network. It wants leads from that broker to go only to its 36-month used-auto refinance product, and it wants to cap how many applications that broker can send per day so its underwriting team isn’t overwhelmed. It sets up the broker as a lead source, creates a campaign and sub-campaign for the used-auto product line, assigns the workflow/product/offer table combination to the sub-campaign, and sets a daily application limit with a business-hours schedule.
A second tenant wants to stop applications from a list of known fraudulent identifiers from reaching underwriting. It uses the lead blocklist tool, selects the relevant variable, and uploads a file of values to block.
Best practices
- Assign the workflow, product, and offer table at the most specific level you need — the sub-campaign level, if you need different routing within the same campaign — rather than only at the lead source level.
- Set a schedule and application limit for high-volume sources so a single broker or channel can’t submit more applications than your underwriting team can handle.
- Add a note whenever you pause, resume, or disable a source, campaign, or sub-campaign, so the activity history explains why, not just when.
- Treat the API key for each lead source, campaign, and sub-campaign as sensitive — it identifies where a batch of applications should be attributed.
- When updating the lead blocklist, add a new block before deleting the last remaining one; the system won’t let you delete the only block unless it already represents a saved file.
- Confirm an uploaded blocklist file was accepted before relying on it — an invalid file is rejected rather than partially saved.
In this section
- Campaigns and lead sources – View and manage campaigns and lead sources.